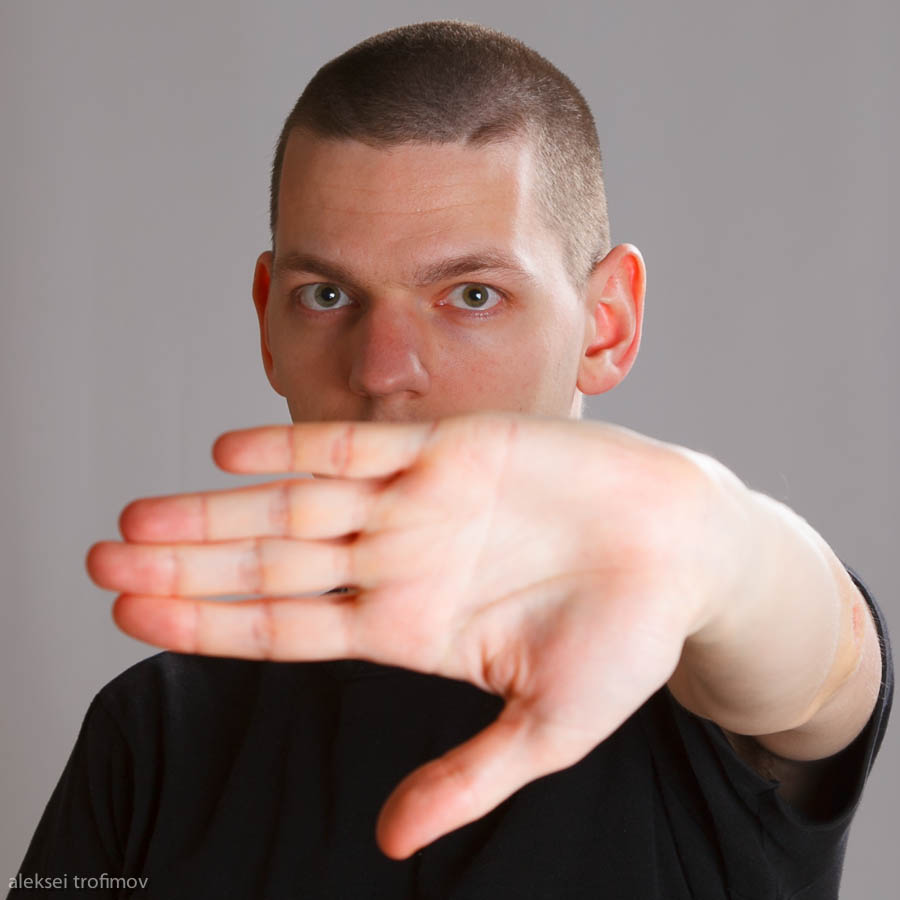
The other day I experimented with some lighting setups for studio photography. I got the impulse from a CD that comes along with the Elinchrom lighting equipment, in my case Elinchrom D-Lite 4.
The CD includes two explanatory videos, where a photographer shows in a very simple way various setups which are possible with the two Elinchrom lights as well as some reflectors. The delivery was very good as the guy suggested precise measurements for F-stops, time values, distances from light sources to subject (literally in centimetres) and settings for the light sources themselves, and then showed the results that come out of each specific setup.
It was fun applying this info in practice and as I went along, I noted some tips for myself while experimenting. In this case I didn’t have a model, so I photographed myself.
1. It is important to set up the light sources with an idea in mind of what you want to highlight or what effect you would like to achieve, as opposed to doing it just by accident.
2. The make-up is important. If you’re a guy, this means at least shaving and cleaning the face of small unnoticeable particles.
3. I used F/8 to F/11. This gave quite good results, although it meant also that the background was often easy to discern, which is sometimes not the desired effect.
4. EOS Utility that accompanies Canon 5D Mark II allows time interval shooting, which is handy for self-portraits. I set it up in such a way that it would make 10 photos with an interval of 10 seconds.
5. Just looking straight at the camera while sitting or standing gives boring pictures. It is visually more interesting when the subject is gesturing or at least smiling.
6. Building upon tip 5, actually it is even more interesting if there is a story behind the shoot, that is to say, the photographer actually has a message that he wants to deliver or an idea of an image that he wants the subject to project.
7. It is very useful to connect the camera to the computer and to observe the resulting photos immediately on screen, instead of on the camera’s LCD screen. A lot of minute details that need improvement become immediately obvious when examining the photos on the computer screen – the LCD is just too small for that.
8. The background is important. It can very easily become distracting. In this shoot I just used the curtains, which here gave a greyscale background, as they were unlit. However there is a faint bubbly pattern on my curtains, and in some photos it was possible to see it, which turned out a bit distracting and that’s better to avoid. Still I was surprised by how much more interesting a grey background looked as opposed to plain white which I use sometimes (I have some white photographic paper).


